
· Holt Ferris
What Is the Lever on a Fly Tying Vise For?
It is the first part of a new vise that makes people stop and stare at it. The jaws are obvious, the clamp is obvious, and then there is this small black arm sticking out of the back of the head with no label on it. I have watched a dozen people at demos reach for that lever, half expecting something dramatic, and close it on nothing to see what happens. Nothing dramatic happens. What it does is quiet, and it is the most-used moving part on the whole tool, so it is worth five minutes before you clamp your first hook.
What the lever actually is: a cam, not a screw
A cam is a shaped piece that converts a swing into a push. Roll it through its arc and the profile gets progressively thicker under the pivot, so the short travel of your thumb becomes a hard, straight shove along the axis of the head. That shove is what closes the jaws. Our vise is cam operated, which is the reason the lever exists at all: the mechanism needs a handle to swing, not a knob to spin.
The practical difference between a cam and a screw is repeatability. A screw has no memory. Every time you release a hook you unwind an unknown number of turns, and every time you clamp the next one you guess your way back to the same pressure. A cam has exactly two ends of travel, and both of them land in the same place every time. Once you have set the clamping force for a hook size, you can open and close the jaws twenty times in a session and land on that identical force twenty times. On a bench where you might tie six flies on the same hook in a row, that consistency is the entire point.
How a cam closes on a hook
Follow the parts from front to back. At the tip are the hardened-steel jaws, two faces that meet along a narrow slot. Behind them is a tapered sleeve. Behind that sits the knurled collar, and behind that, the lever on its pivot screw. Swing the lever and the cam pulls the jaws back into the tapered sleeve; because the sleeve narrows, the jaws are squeezed together as they retract, and they close onto whatever is sitting between them. Swing it the other way and the jaws slide forward again into the wider part of the taper, where they spring apart and let the hook go.
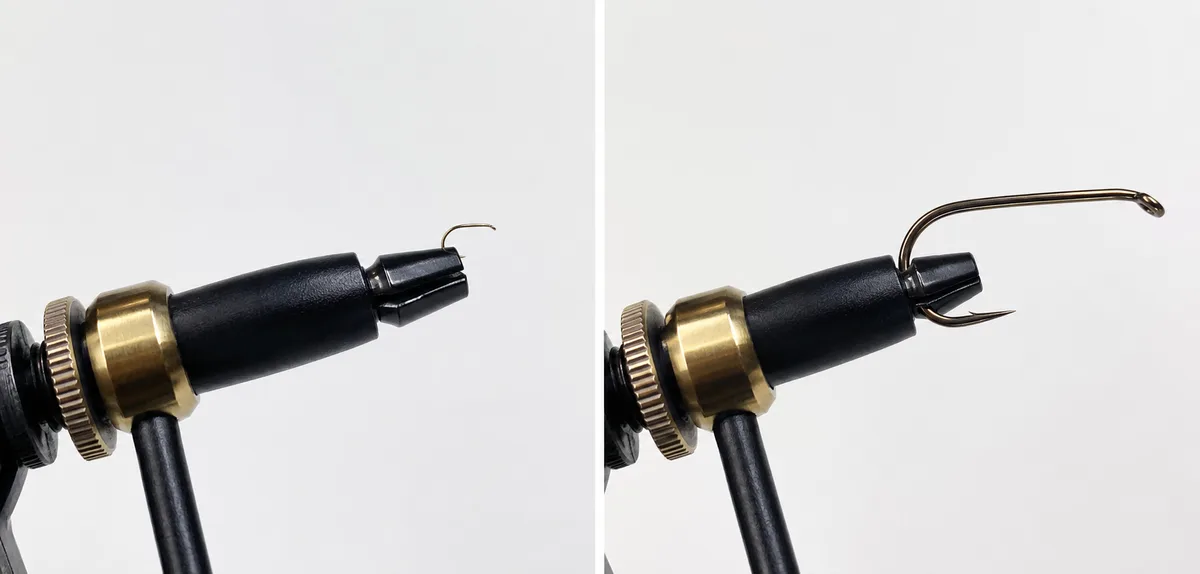
This matters for where you put the hook. Because the jaws squeeze along a slot rather than pinching at a single point, the hook wants to sit down in that slot, not perched on the very tips. Seat the bend fully into the jaws so the closing faces grip solid wire along a length of it. A hook balanced on the front edge of the tips concentrates the whole clamping force on two tiny contact patches, which is where a stubborn streamer starts twisting under thread tension.
Jaw opening on the Tailwater vise
— Tailwater product specifications, 2026
The knurled collar behind the lever does the other half
The lever on its own has no idea what size hook you are holding. Its travel is fixed — the same arc, the same distance, every single time. What changes is where the jaws start from, and that is the collar's job. Turning the collar threads the whole jaw assembly forward or back inside the head, which decides how far into the taper the jaws already sit before the lever moves at all.
Think of it as coarse and fine. The collar is the coarse setting: you choose it once for a wire diameter and leave it. The lever is the fine action: you flick it open and shut as many times as you need at that setting. When people say a cam vise "does not hold," nine times out of ten the lever is working perfectly and the collar was never set for the hook in the jaws. The lever cannot squeeze harder than the collar allows, and it will not warn you — it will just close with a satisfying click on a hook that then rolls under load.
Setting the lever for a hook size you have not tied before
Do this once, with a bare hook, before there is any thread on it. Open the lever. Seat the hook by the bend in the jaws. Close the lever and take hold of the shank between finger and thumb, then try to twist it. If it moves, open the lever, turn the collar a small amount tighter, and repeat. If the lever feels hard to close, or you find yourself pressing with the heel of your hand, go the other way: that is too much, and on fine wire it is enough to distort a hook you will only notice when the fly will not sit right in the water.
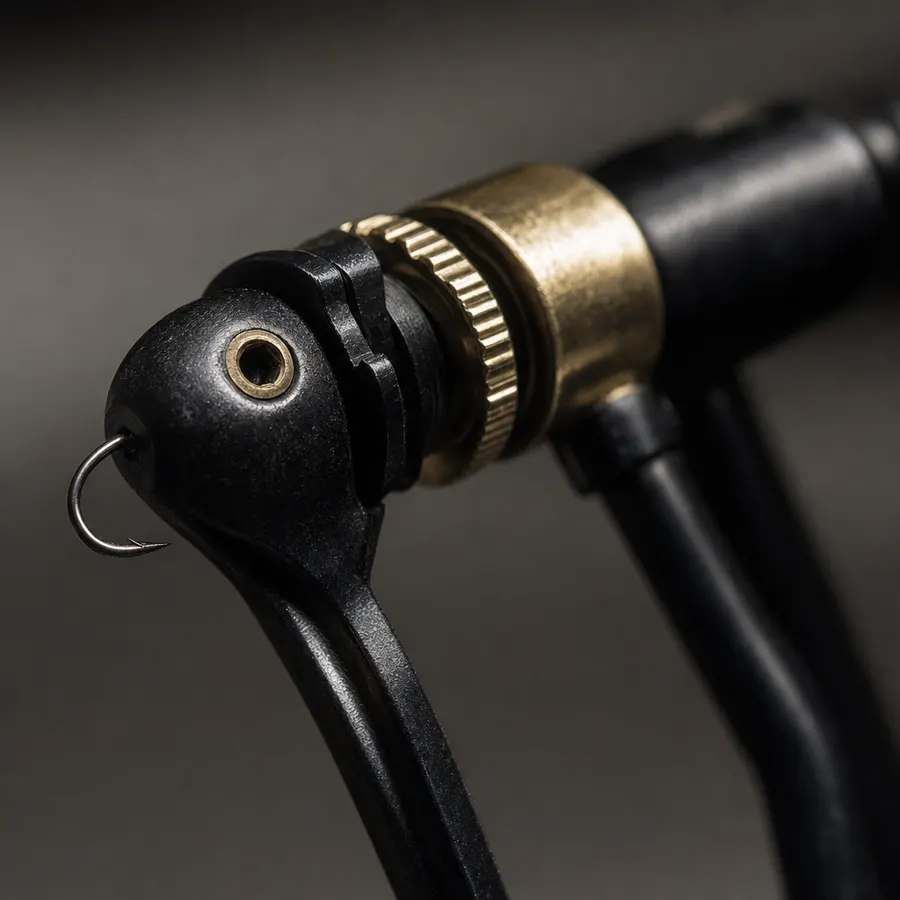
You are looking for the setting where the lever closes with firm, even resistance through the last part of its travel and the hook will not budge afterwards. Two or three hooks in, you stop thinking about it. Most tyers end up with two or three collar positions they know by feel — one for streamer wire, one for general nymph and dry hooks, one for the small stuff — and they move between them without counting turns. Our jaws are built to cover that whole span without swapping in a separate adapter.
Hook sizes the jaw closes on without an adapter
— Tailwater product specifications, 2026
Cam lever versus screw-tightened jaws
Both mechanisms hold a hook. They differ in what the act of clamping costs you, which shows up most on the days you change hooks often.
| Cam lever | Screw-tightened jaws | |
|---|---|---|
| Changing a hook | One flick each way | Unwind, reseat, wind back up |
| Repeating a pressure | Fixed end of travel, same force every close | Judged by feel each time |
| Changing hook size | Reset the collar once, then flick as usual | Wind to a new depth each time |
| What can go wrong | Collar left on the wrong setting | Overtightening on fine wire |
| Tying a dozen of the same fly | Fastest — the setting never changes | Re-judged on every hook |
If you are still working out which vise style suits your bench, our rotary vs. fixed vise guide covers the other axis of that decision — what the head does once the hook is in it.
What the lever is not for
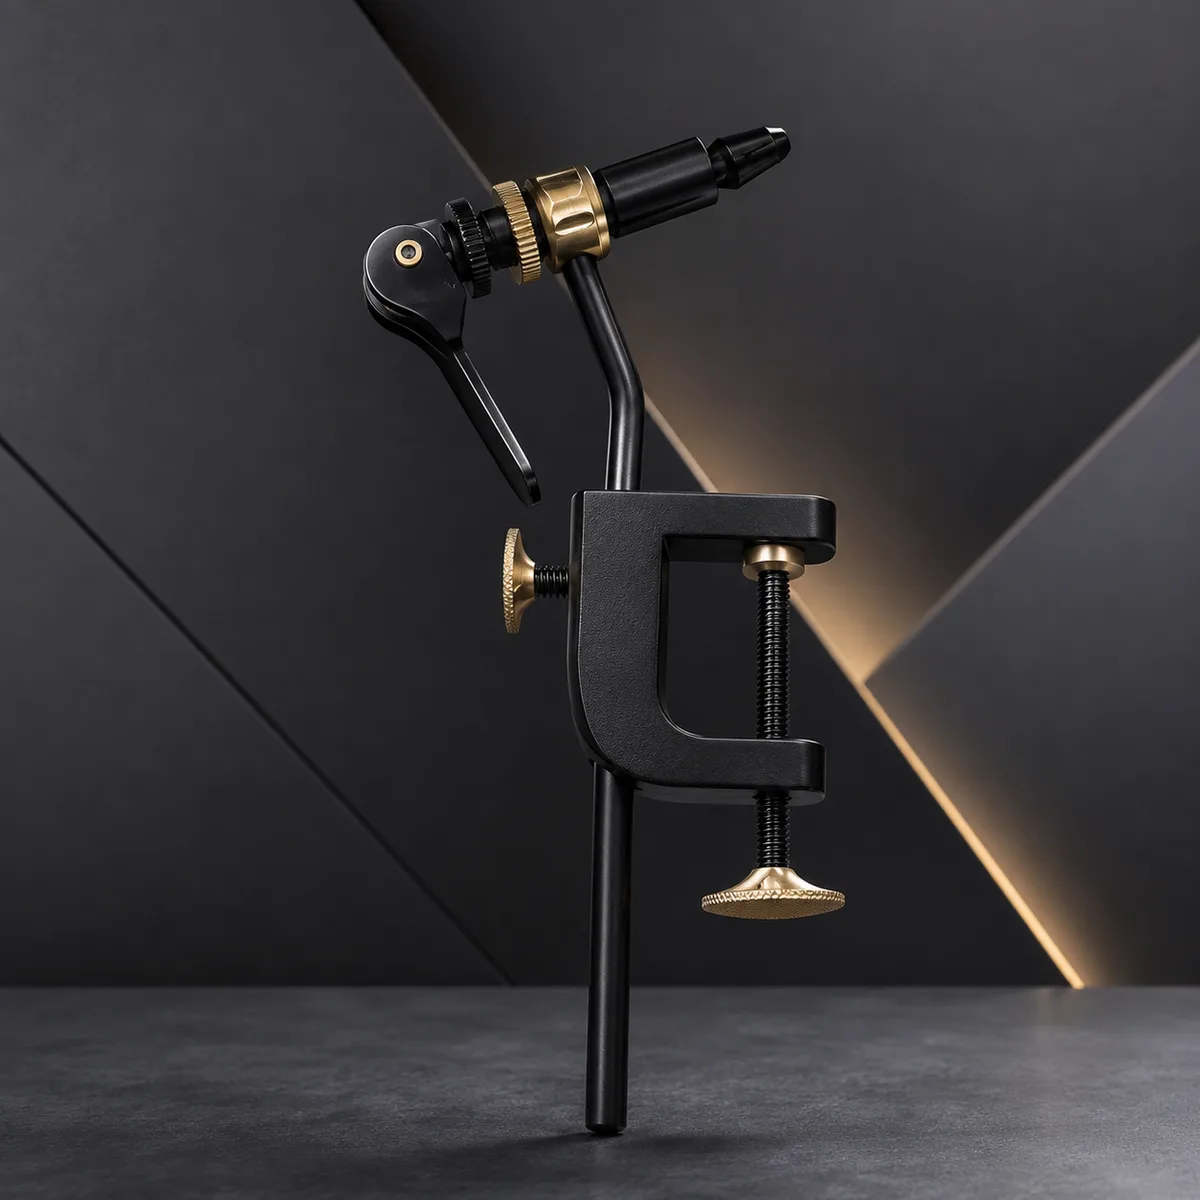
Three jobs get handed to it by mistake in the first week. It is not the rotation control: on our vise the head turns freely on brass bushings whether the lever is open or closed, and rotation is not something you unlock. It is not a height or angle adjuster either — the arm sets your working height, and the clamp sets where the arm stands.
And it is not somewhere to rest your thread. When you need both hands free mid-fly, the two habits that work need no extra hardware at all: hold the bobbin still in your off hand with the thread slack, or let it hang under the hook so its own weight keeps light, even tension on the wraps you have already laid. Our guide to using a rotary vise walks through both, along with the reason mystery loose wraps appear behind the eye when you skip that step. Looping thread over a moving part is how you get a wrap you did not intend and cannot find later.
Three lever problems, and the fix for each
All three come up in the first month, and none of them mean the vise is faulty.
The lever closes but the hook still turns. The collar is set too loose for that wire. Open the lever, turn the collar slightly tighter, close and re-test with the twist check above. Work in small increments — the distance between "slips" and "solid" is smaller than most people expect.
The lever is stiff, or grinds through its arc. Tying wax and material dust reach the cam and the pivot, and once they are packed in there the swing goes from smooth to notchy. A dry cloth over the head and around the pivot usually brings it straight back. Wipe wax and thread residue off the jaw after long sessions rather than letting it build up, which is the same maintenance the rest of the head wants anyway.
The lever creeps open while you tie. The cam is not sitting all the way at the closed end of its arc. Push it fully home so it seats past the high point of the cam instead of resting on it; a lever left halfway will walk itself back open as you put tension into the fly.
The lever on the Tailwater vise
Our rotary fly tying vise uses a cam-operated head with a hardened-steel jaw ringed in brass, riding on brass bushings so the head turns a full 360 degrees independently of the lever. The jaws take hooks from #4 down to #24, and the whole thing locks to a desk edge on a C-clamp base with two brass-knurled thumb screws — the setup our fly tying desk guide covers if you have not chosen a spot yet. One verified buyer puts it plainly: "Works perfectly, good quality, I recommend it. The hook holds securely, nothing wobbles."
It is $49.95 on its own, or $79.95 inside the Complete Fly Tying Kit with the bobbin holder, whip finisher, hackle pliers, tweezers and thread that a first bench needs. Never clamped a hook at all? Start with how to tie your first fly. Comparing all three setups? Our best fly tying vise page lays all three side by side, and the reviews page has what buyers report on jaw hold after a season at the bench.
Average rating across 47 verified buyers
— Tailwater buyer ratings, 2026
Fly tying vise lever FAQ
Which way do you push the lever to open the jaws?
The lever swings through a short arc with a clamped position at one end and an open position at the other. Which end is which depends on how the head was assembled, so find out on a bare hook before your first fly: work the lever slowly, watch the jaw tips, and note the position that lets the hook slide free.
Why does the lever close but the hook still slips?
The lever finished its travel before the jaws reached the wire. The lever only carries the jaws as far as the collar behind it allows, so back the lever off, turn the collar a small amount tighter, and close again. Adjust in small increments and stop as soon as the hook holds under a firm pull.
Do you have to reset the lever every time you change hook size?
Only when the wire diameter changes enough to matter. Hooks within a size or two of each other usually seat on the same setting, but moving from a #6 streamer hook down to a #22 midge means turning the collar tighter, because the jaws have to travel further before they meet much thinner wire.

Holt Ferris · Fly Tyer and Guide, 15 Seasons on the Water
Fly fishing guide and tyer for 15 seasons. Writes the Tailwater guides, from a first Woolly Bugger to true rotary technique.