· Holt Ferris
Easy Fly Tying Patterns for Beginners
Once you can tie a Woolly Bugger from our first fly guide, the next question is always "what do I tie now?" These four patterns are the ones I hand beginners next, in roughly the order I teach them, because each one adds exactly one new skill on top of what a Woolly Bugger already taught.
1. Woolly Bugger
If you skipped straight to this article, start here anyway — it's still the single best fly for building basic thread control, tying in a tail, and palmering a hackle. It imitates just about anything large and dark moving in the water: a leech, a baitfish, a large nymph. Tie it in black, olive, or brown and you've covered most subsurface situations on a moving-water river.
The main thing to focus on with a Woolly Bugger is consistency across several ties rather than perfection on the first one. Tie five in a row in the same color and you'll notice your tail length, hackle spacing, and body taper all start to even out — that repetition matters more than any single tip.
2. Elk Hair Caddis
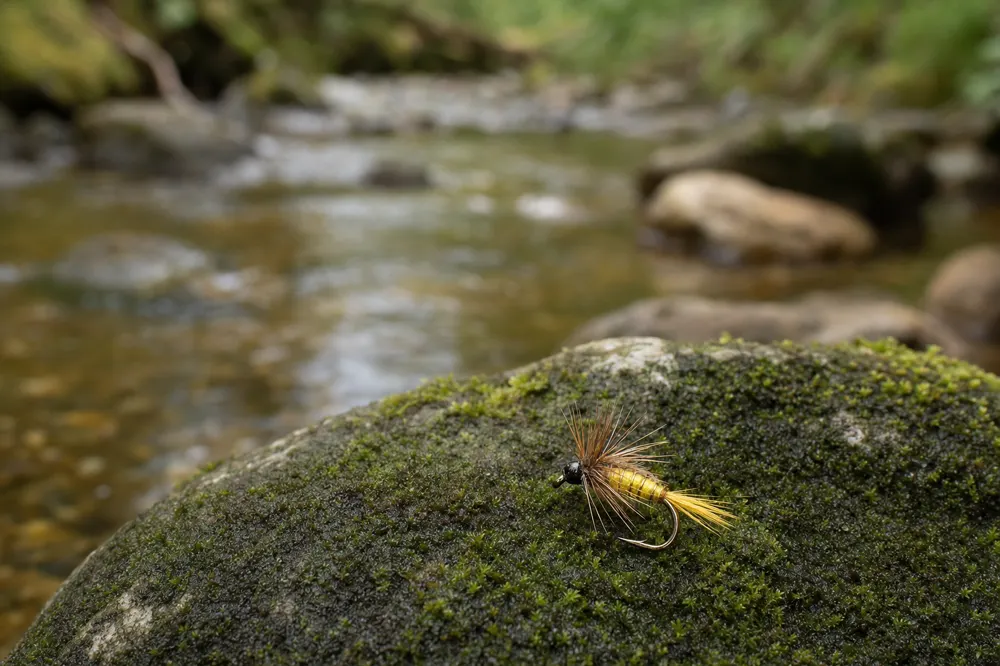
This is the pattern that teaches you to stack and flare hair — a completely different skill from wrapping thread around a feather. Elk hair is tied in at the head, flared back over the body, and trimmed to shape a durable, floating wing that never needs re-treating with floatant as often as a hackle-heavy dry fly. It imitates an adult caddisfly and floats well even in choppy water, which makes it forgiving for a beginner still learning to judge how much floatant a fly needs.
The tricky part for most beginners is thread tension while flaring the hair — too loose and the wing won't stand up, too tight and the hair flares out sideways instead of back. A rotary vise helps here too: spin the fly to check the wing shape from the front before you commit to a final thread wrap.
3. Pheasant Tail Nymph
A Pheasant Tail Nymph teaches segmented-body construction using pheasant tail fibers wound as both the body and, doubled back, the wing case. It's a general nymph pattern — it doesn't imitate one specific bug so much as "small brown thing drifting near the bottom," which is exactly why it works almost everywhere. Tying it well means learning to keep tension even across many thin fibers at once, a skill that carries over to almost every other nymph pattern you'll tie later.
Because the fibers are thin and the hook sizes run small — often #14 to #18 — this is also the first pattern on this list where a fine jaw opening and a secure hold really start to matter. A hook that shifts even slightly mid-wrap on a size 16 shank will throw off the whole segmented look.
4. San Juan Worm
The simplest fly on this list, and a good confidence builder between the more involved patterns above. A San Juan Worm is little more than a length of chenille or vinyl material tied onto a bare hook shank and burned or trimmed at both ends. It imitates an aquatic worm dislodged by high water, and it's a genuinely useful pattern after rain — not just a practice fly. Tie a few in red and pink and you'll have a fly that regularly outperforms far more "serious" patterns in off-color water.
Because there's no hackle, no hair, and only one material, this is also a good pattern to practice thread control and neat thread heads in isolation, without the added complexity of managing a second or third material at the same time.
| Pattern | Imitates | Typical hook size | Difficulty |
|---|---|---|---|
| Woolly Bugger | Leech, baitfish, large nymph | #4–#10 | Easy |
| Elk Hair Caddis | Adult caddisfly | #12–#18 | Easy–moderate |
| Pheasant Tail Nymph | General small nymph | #12–#18 | Moderate |
| San Juan Worm | Aquatic worm | #8–#14 | Very easy |
Full hook range our rotary vise jaws are built to hold across these patterns
— Tailwater measurements, 2026
Materials worth keeping on hand
All four patterns share a short list of staples: black and olive chenille, black and grizzly saddle hackle, a pack of pheasant tail fibers, elk or deer body hair, and a spool of chenille or vinyl rib in red or pink for the worm. None of it is expensive, and it's the same short list most fly shops sell as a "beginner tying materials" bundle. Pair it with a spool of fly tying thread in 70D-100D and you can tie every pattern above from the same small kit.
If you'd rather not shop piece by piece while you're still learning what each material does, our Pro Fly Tying Tool Set ($84.99) pairs the vise with a fuller tool set, which covers the tools side of the bench so the only thing left to source is the handful of feathers, fur, and chenille each pattern calls for.
Building the habit
The fastest way to get better isn't tying one perfect fly — it's tying the same fly five or six times in a row and watching the proportions even out. Set up a proper fly tying desk so you're not fighting your workspace, and use a rotary vise to check your work from every side as you go; our rotary vs. fixed vise guide explains exactly why that matters for even, well-proportioned flies. Once these four feel routine, you're ready to start picking patterns based on what's actually hatching on your local water instead of what's easiest to tie.
If you haven't tied your very first fly yet, start with our step-by-step first fly guide before jumping into this list — it covers the vise setup and basic wrap technique that all four patterns above assume you already have. And once you're comfortable across all five patterns, our how we test page and reviews page show exactly how we validate that a vise holds up to that kind of repeated, everyday use rather than just a single demo fly.