
· Holt Ferris
How to Use a Rotary Vise
Most first rotary vises get used as fixed vises with a party trick attached: clamp the hook, tie as you always have, spin the head at the end to admire it. That leaves half the tool idle. Tying in the round, where the vise winds and your hands only feed material, feels clumsy for a few flies and then obvious. Here is the sequence I teach at demos.
Step 1: Seat the hook on the axis of rotation
The jaw turns around an invisible line running down the middle of the jaw assembly, and the closer the shank sits to that line, the less the fly travels through a rotation. Clamp the hook by the bend, shank running straight out from the jaw tips, level rather than tipped up or angled down, pushed in far enough that the jaws close on wire and never on the point. Then look from the side: the shank should read as a continuation of the vise arm, not a branch off it. Small hooks are where this goes wrong quietest, since thin wire sits crooked long before you can see it.
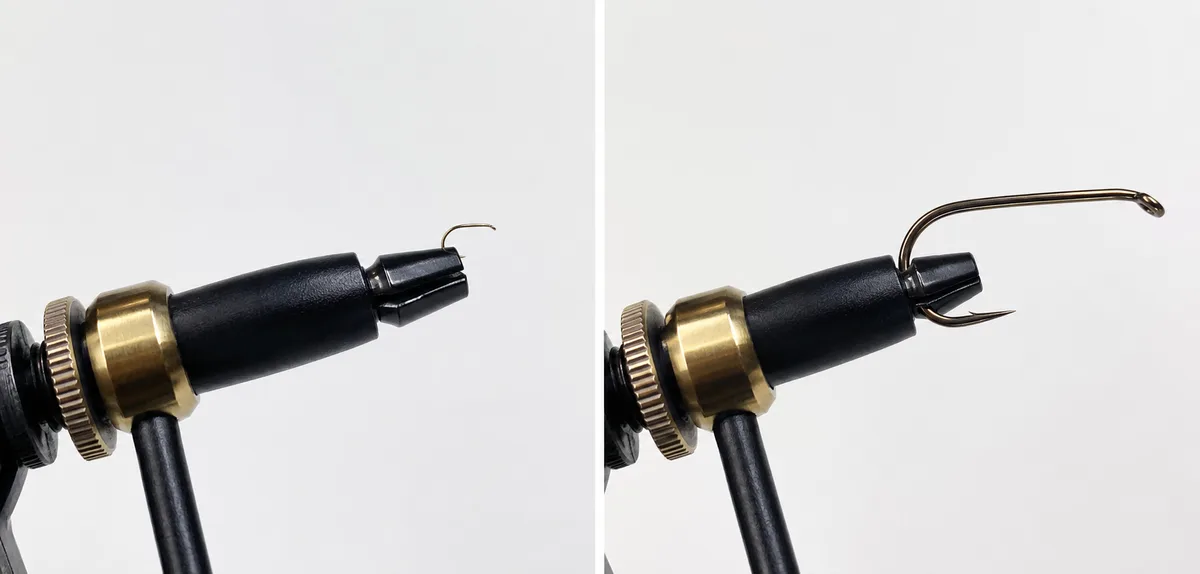
Hook sizes the jaw closes on without an adapter
— Tailwater product specifications, 2026
How do you know the hook is really in line?
Turn the head slowly through one full rotation and watch the hook eye, not the whole fly. If the eye traces a visible circle, the shank is off the axis, and every wrap you lay down while turning will land unevenly. If it stays roughly on one spot while the bend swings around it, you are close enough to tie. When it fails, open the jaws, push the hook slightly deeper or pull it out a touch, and check again. Some bends will never sit dead on the line, and they do not have to: you want a fly that stays in your field of view for the whole turn.
Step 2: Park your thread before the head turns
A rotating vise will wind your tying thread around the shank while you believe you are only inspecting the fly, and that is where mystery loose wraps behind the eye come from. Decide where the bobbin goes before every rotation. Two ways need no extra hardware: hold the bobbin still in your off hand with the thread slack while the head moves, or let it hang under the hook so its weight holds light, even tension. Use the same one every time, because this failure is silent. If your thread snaps when you add tension, that is a denier question rather than a rotation one, and our thread guide covers it.
Step 3: Wind the material, not your hand
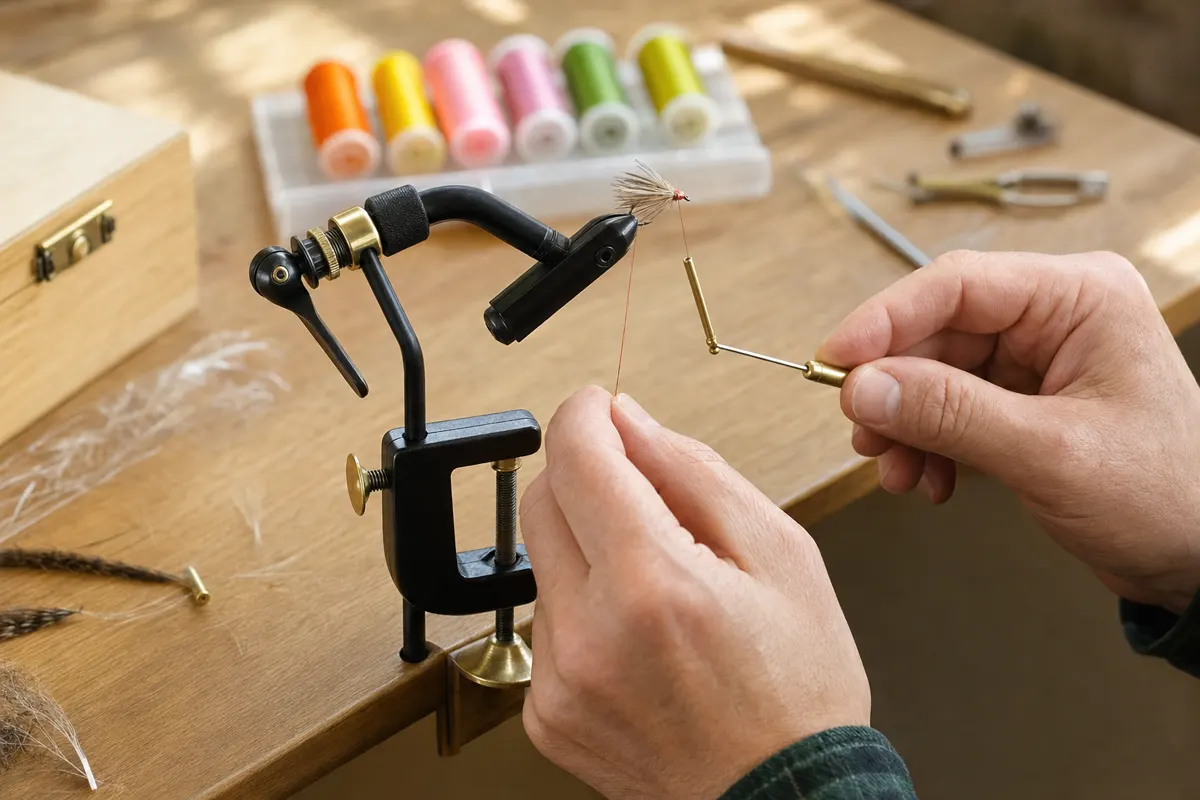
The technique itself: hold the rib, the tinsel or the hackle stem out at roughly a right angle to the shank under light tension, and turn the head with your other hand. One rotation equals one wrap. Because the material stays put while the hook rotates underneath it, spacing is set by how fast you feed material along the shank, not by how steady your wrist is through an awkward reach. Turn one direction for a whole step, and keep the feeding hand loaded until the material is tied off: releasing tension mid turn is what leaves a slack wrap behind you.
Rotation does not improve every step. Knowing which half of the tie is faster with the hook standing still saves you spinning out of reflex.
| Step | Turn the vise? | Why |
|---|---|---|
| Wire or tinsel rib | Yes | Spacing comes from feed rate, so turns land even |
| Palmered hackle | Yes | You watch the far side climb |
| Thread base, tie-in wraps | No | Quicker by hand |
| Dubbing a noodle onto thread | No | Both hands are on the material |
| Whip finish | No | The tool needs a still hook |
| Head cement or UV resin | Yes | Turning stops the coat sagging |
Jaw opening on the Tailwater vise
— Tailwater product specifications, 2026
Step 4: Keep turning while the coating sets
Head cement and UV resin run downhill on a still hook, which is how a clean thread head ends up with a lump under one side. Put a thin coat on, then turn the head slowly for several rotations so the coating spreads around the shank while it is still mobile. With resin, keep turning right up to the moment you hit it with the light. This is the one step where rotation does something your hands cannot.
Why it feels wrong at first, and what fixes it
Three complaints come up in the first week, all with unglamorous causes. The fly wobbles through the turn: the shank is off the axis, so go back to the eye check above and reseat it. The head feels gritty halfway round: thread wax and material dust have reached the rotating collar, and a dry cloth usually brings it back. The hook twists in the jaws: they are gripping the tip of the bend instead of solid wire, or a big hook was clamped at a pressure that felt fine while the fly stood still. One verified buyer puts it: "Works perfectly, good quality, I recommend it. The hook holds securely, nothing wobbles."
Doing this on the Tailwater vise
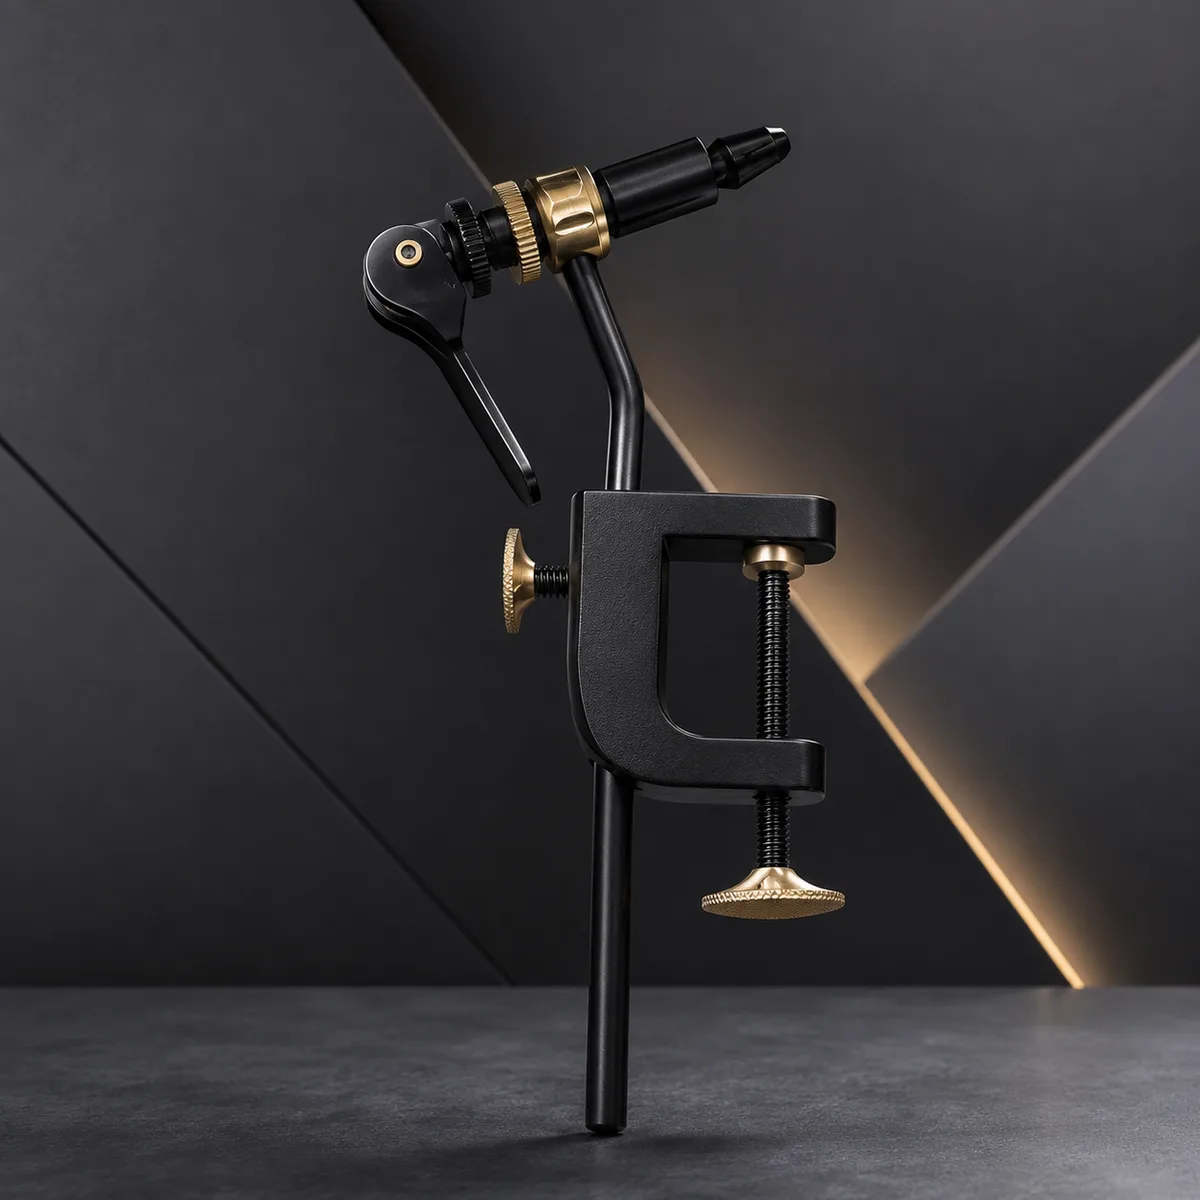
Our rotary fly tying vise is built for this motion: a hardened steel jaw head on brass bushings that turns a full circle while the C-clamp base stays locked to the desk edge, gripping hooks from #4 down to #24. It is $49.95 alone, or $79.95 inside the Complete Fly Tying Kit with the bobbin holder, whip finisher, hackle pliers and thread these steps call for. Still weighing whether rotation earns its place? Read rotary vs. fixed vise. Never tied a fly at all? Start with how to tie your first fly. The reviews page has what buyers report, and the fly tying vise homepage lists every spec.
Average rating across 47 verified buyers
— Tailwater buyer ratings, 2026
Rotary vise FAQ
What is true rotary tying?
Tying in the round: you hold the material still and turn the vise head, so the hook rotates underneath it instead of your hand walking around the hook. It only works cleanly when the shank sits close to the jaw's axis of rotation.
Can you whip finish while the vise is turning?
No. A whip finisher needs a hook that stays put while the knot builds, and turning at the same time crosses your wraps. Inspect the fly with a spin first, then hold the head still and finish by hand.
Why does my fly wobble when I spin the vise?
The shank is off the axis of rotation. Watch the hook eye through a slow turn: if it draws a circle instead of staying on one spot, reseat the hook slightly deeper or shallower and check again.

Holt Ferris · Fly Tyer and Guide, 15 Seasons on the Water
Fly fishing guide and tyer for 15 seasons. Writes the Tailwater guides, from a first Woolly Bugger to true rotary technique.